There’s a unique kind of disappointment that hits when you pull your favourite dress from the wardrobe, only to find a tiny, heartbreaking flaw. A snagged thread on that cosy knit cardigan, a stubborn zipper on your go-to jeans, or a seam that’s given up under the pressure of a busy day. In the past, this might have felt like a fashion tragedy, relegating a beloved piece to the back of the closet. But what if we told you it’s actually an opportunity?
Welcome to your complete guide on how to mend clothes at home. In 2026, embracing sustainable fashion in Sri Lanka isn’t just about conscious purchasing; it’s about extending the life of the garments you already love. This is the ultimate act of style sovereignty—taking the power back into your own hands. Forget waiting for a tailor for a simple fix. With a few basic skills, you can perform your own DIY fashion repair, saving money, reducing waste, and building a deeper connection with your wardrobe. This guide is designed for the modern Sri Lankan woman, offering practical, step-by-step advice for keeping your trendy pieces looking pristine, from Colombo to Kandy and beyond.
Your Essential At-Home Mending Kit: What Every Sri Lankan Wardrobe Needs
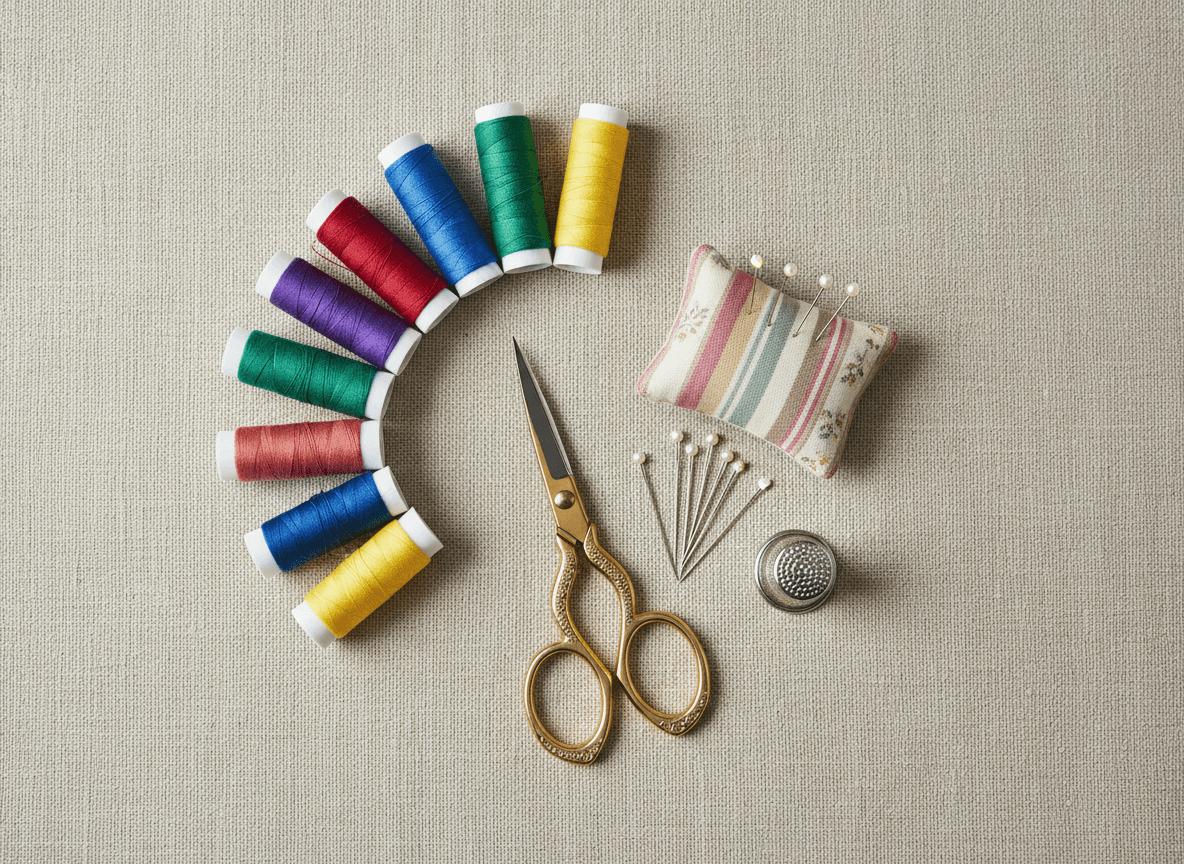
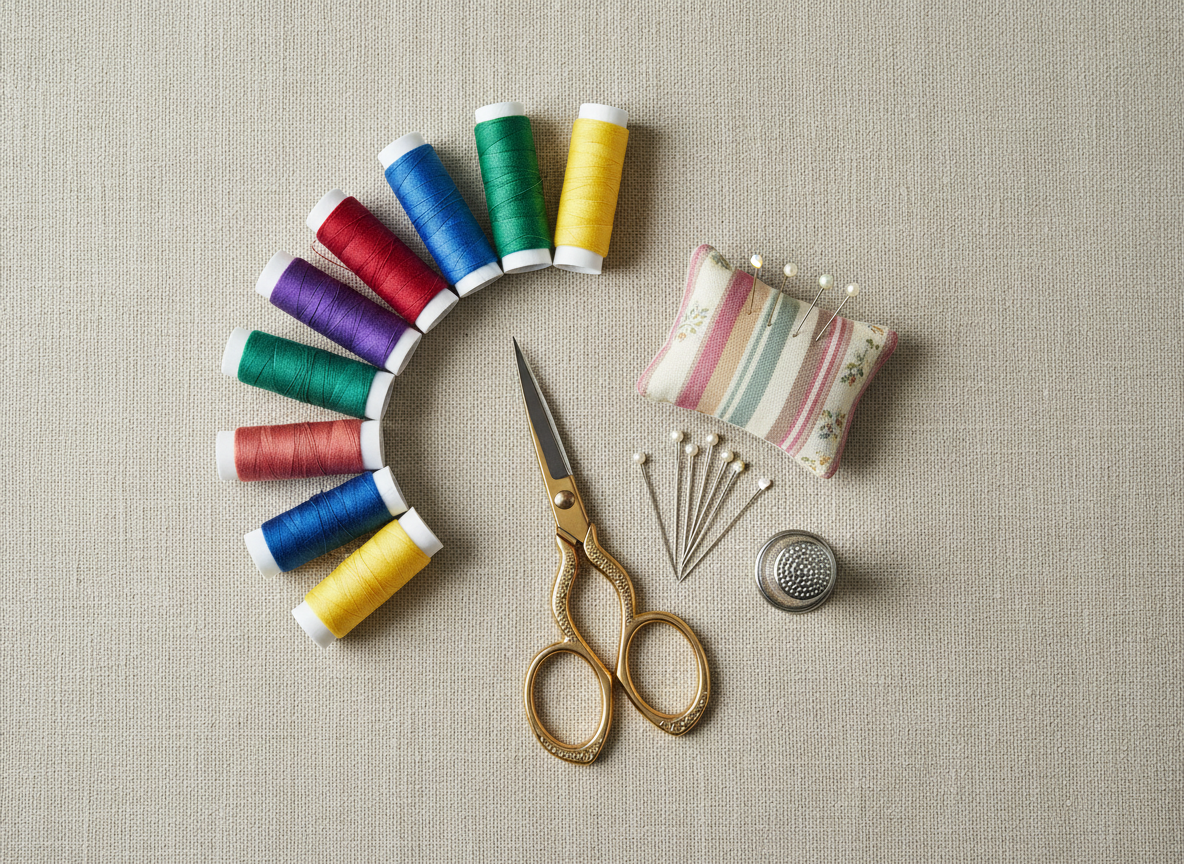
You don't need a professional sewing machine or a room full of supplies to become a mending maven. A small, curated kit is all it takes to tackle over 80% of common clothing issues. Think of it as a first-aid kit for your wardrobe. Building one is simple and affordable, and having these tools on hand means you can act fast when a fashion emergency strikes.
The Absolute Basics
This is your starting lineup. With just these four items, you can reattach buttons, fix small holes, and secure loose hems. You can find these at any local haberdashery or even larger supermarkets.
- Needles: A variety pack is best. You'll want fine needles for delicate fabrics like chiffon and sturdier ones for denim.
- Thread: Start with the holy trinity: black, white, and a neutral beige or grey. As your confidence grows, add colours that match your most-worn items. For Sri Lanka's humid climate, a cotton-wrapped polyester or 100% polyester thread is a smart choice as it resists mildew and is incredibly strong.
- Small, Sharp Scissors: A dedicated pair of fabric or embroidery scissors will give you clean cuts and prevent frustrating thread fraying. Don't use your kitchen scissors!
- A Thimble: It might feel old-fashioned, but pushing a needle through thick fabric like denim can be tough. A thimble protects your finger and gives you better leverage.
Level-Up Your Mending Arsenal
Ready to move beyond the basics? These tools are inexpensive but will make your repairs faster, easier, and more professional-looking. They are true game-changers in the world of DIY fashion repair.
- Seam Ripper: This small, fork-like tool is your best friend for removing stitches without damaging the fabric. It’s essential for replacing zippers or re-doing a wonky seam.
- Fabric Glue or Fusible Hem Tape: For no-sew fixes in a hurry. Hem tape, activated by an iron, is perfect for creating a crisp, clean hemline on trousers or skirts without a single stitch. *Safety Pins: Indispensable for holding fabric in place while you sew, re-threading a drawstring, or as a temporary fix for a broken strap.
- Measuring Tape: Crucial for ensuring hems are even and patches are placed correctly.
- Needle-Nose Pliers: A must-have for our zipper-fixing section. You’ll be surprised how often these come in handy for manipulating small metal parts.
Sourcing Your Supplies in Sri Lanka
Building your kit is part of the fun. For an incredible variety of threads, buttons, and tools, a trip to the bustling streets of Pettah in Colombo is an experience in itself. You'll find everything you could possibly need and more. In other cities like Kandy, Galle, or Jaffna, look for local haberdashery shops (often called "fancy shops" or located near tailors). Many online stores and craft suppliers across Sri Lanka now also deliver these essentials right to your doorstep, making it easier than ever to get started.
The Pesky Pulled Thread: How to Fix Snags in Knitwear and Wovens
It’s the classic scenario: your beautiful new knit cardigan catches on a chair, a piece of jewellery, or even a rough fingernail, and suddenly there’s an unsightly loop of thread marring its surface. Your first instinct might be to panic and snip it off. Don't do it! Cutting a snag creates a hole, turning a minor issue into a major one. The good news is that a snag is just a pulled thread, not a broken one, and it’s one of the easiest fixes to master.
Fixing Snags in Knit Garments (Sweaters, Cardigans)
Knitwear, with its looped construction, is particularly prone to snagging. This technique works wonders on everything from chunky sweaters to delicate, open-knit pieces. It’s the perfect skill for preserving items like a beautiful, airy cardigan that’s a staple in air-conditioned offices or for cooler evenings.
- Turn the Garment Inside Out: Locate the snag from the reverse side. You should see the base of the loop.
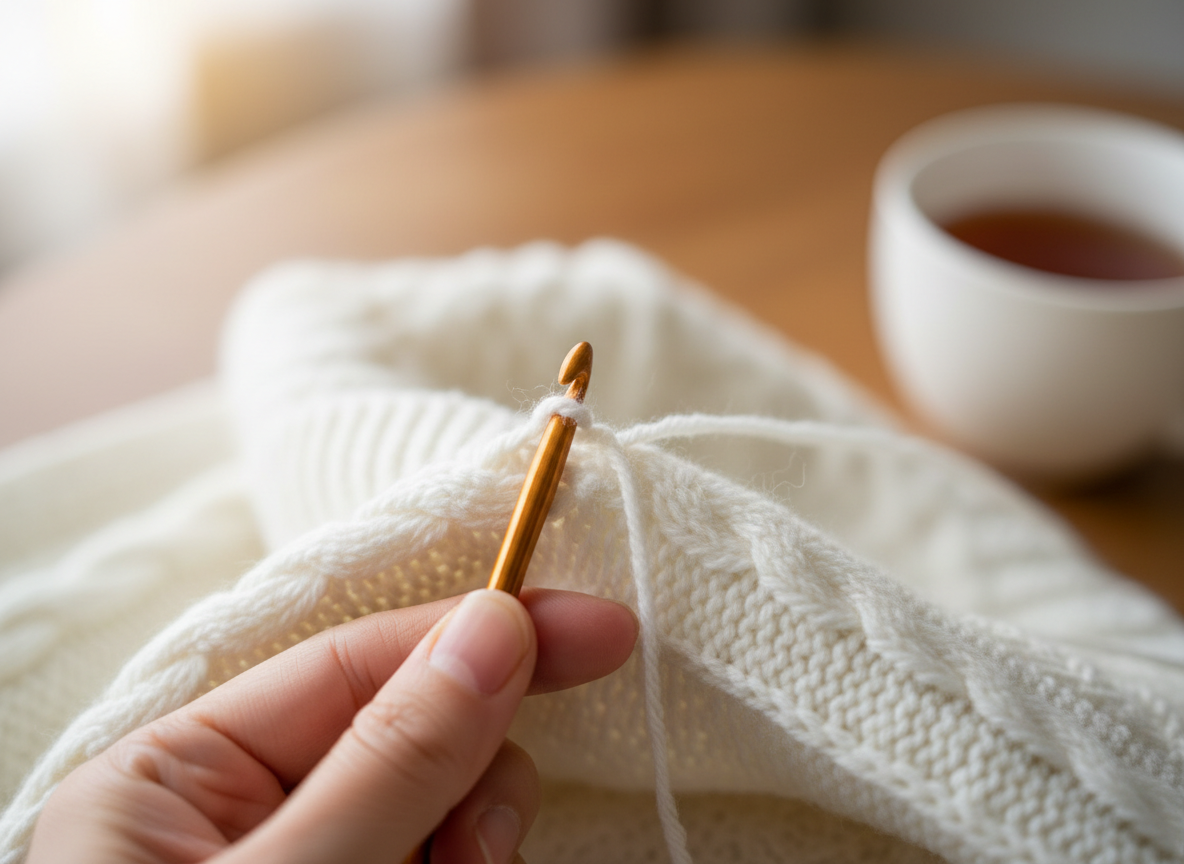
- Choose Your Tool: A small crochet hook is the ideal tool. If you don't have one, a regular sewing needle threaded backwards (using the eye of the needle) or even a bobby pin can work.
- Pull the Loop Through: From the inside of the garment, push your tool through the fabric right next to the snag. Hook the snagged loop and gently pull it all the way through to the inside of the garment. The snag will disappear from the front.
- Secure the Loop (Optional but Recommended): On the inside, the loop is now safe from being pulled further. For extra security, you can split the loop with your needle, thread one half through the other to create a small, loose knot, and dab it with a tiny amount of clear nail polish or fabric glue to seal it. This prevents it from ever being pulled out again.
This simple method will keep your knitwear looking flawless. It's a lifesaver for delicate pieces like our gorgeous White Cropped Open-Knit Cardigan, ensuring a small accident doesn't ruin its intricate charm.
Managing Snags in Woven Fabrics (Dresses, Blouses)
Woven fabrics like cotton, linen, satin, or chiffon can also snag. The fix is similar but requires a slightly more delicate touch as the threads are much tighter.
- Gently Stretch the Fabric: Hold the fabric on either side of the snag and gently pull it taut horizontally, vertically, and diagonally. Often, this alone will help the pulled thread settle back into the weave, making the snag much less noticeable.
- Use a Needle: If stretching isn't enough, take a fine, sharp needle. From the front of the fabric, use the tip of the needle to gently pick and nudge the surrounding threads back into place. Then, from the back, try to coax the snagged loop to the reverse side as you would with a knit.
- Be Patient: Working with silky or fine wovens requires patience. Small, gentle movements are key to avoiding further damage.
Zipper Troubles? No Problem! Your Guide to Fixing Zippers at Home
A broken zipper can render an entire garment unwearable. Whether it’s on your favourite pair of jeans, a chic midi dress, or a trusty jacket, a faulty zip is a major frustration. Before you declare the item a lost cause, know that most common zipper problems can be solved at home with a few clever tricks and basic tools. Learning to fix a zipper is a true superpower in the world of clothing repair in Sri Lanka.
The Stuck Zipper: Quick Fixes for a Jammed Zip
The zipper is halfway up and refuses to budge. It's usually caused by a bit of fabric caught in the teeth or a lack of lubrication. Here's how to free it without force.
- Inspect for Obstructions: First, check carefully to see if a piece of thread or fabric is caught in the slider. If so, use tweezers to gently pull it out.
- The Graphite Trick: Grab a regular graphite pencil (like a school pencil) and rub the tip generously on the zipper teeth on both sides, right around the stuck slider. The graphite is a dry lubricant and will help the slider glide free.
- Wax or Soap: If the pencil doesn't work, try a bar of soap, a wax candle, or even some lip balm. Rub it along the zipper teeth to provide lubrication. Gently jiggle the slider up and down until it moves smoothly.
The Zipper That Won't Stay Up
This is a classic issue with well-worn jeans and trousers. The slider has become loose and no longer has the grip to hold the zipper teeth together. Luckily, there are both temporary and permanent solutions.
- The Quick Hack: For an immediate fix, loop a small elastic band or a key ring through the hole in the zipper pull. Zip up your pants, then loop the elastic/ring over the button before fastening it. The zipper is now anchored in place!
- The Permanent Fix: This requires a pair of needle-nose pliers. Most sliders have two parallel plates that run along the top and bottom of the zipper teeth. Over time, these plates spread apart.
- First, zip the zipper all the way down.
- Take your pliers and gently squeeze the side of the slider that is closer to the garment fabric (not the side with the pull tab).
- Give it a gentle squeeze on one side, then the other. Don't use too much force, or you could break the slider.
- Test the zipper. If it still slides down, give it another very gentle squeeze. This slight tightening is usually all it takes to restore the grip. This is a fantastic trick for keeping your favourite blue wide-leg cargo jeans in perfect, functional condition.
When the Zipper Slider Comes Off One Track
If the slider has popped off one side of the zipper teeth, it looks disastrous, but it's fixable. You'll need to re-thread it.
- Examine the Zipper Bottom: Look at the very bottom of your zipper. You’ll see a small metal or plastic "stop" that prevents the slider from coming off.
- Remove the Stop: Using a seam ripper or small pliers, carefully remove this bottom stop from the side the slider has come off of.
- Re-thread the Slider: Now you can easily guide the loose zipper tape back into the empty side of the slider. Make sure it’s even with the other side.
- Create a New Stop: Once the slider is back on both tracks, you need to create a new stop. Take a needle and some sturdy thread and sew several thick stitches back and forth over the bottom of the zipper tapes, right where the old stop was. This will act as a new, durable barrier.
Master the Seam: Repairing Split Seams and Fallen Hems
Seams are the skeletons of our clothes, holding everything together. But in high-stress areas—like the underarm of a blouse, the side of a fitted dress, or the inseam of trousers—they can sometimes give way. Similarly, a fallen hem can instantly make a polished outfit look sloppy. Learning a few basic stitches is all you need to keep your garments structurally sound and looking sharp.
How to Sew a Split Seam
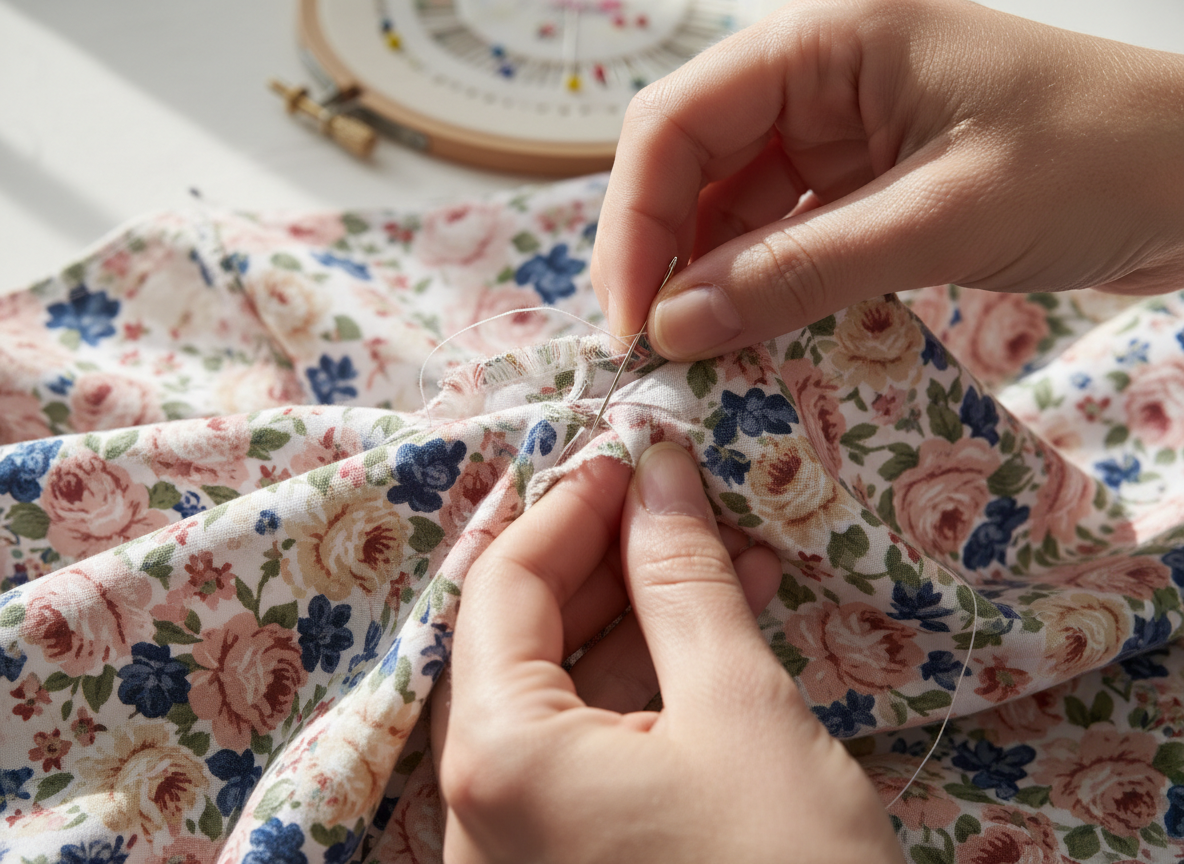
A split seam is one of the most common repairs and is incredibly easy to fix. The best stitch for this is the backstitch, as it’s very strong and closely resembles a machine stitch.
- Prepare the Garment: Turn the item inside out. You'll be working on the reverse side so the repair is invisible from the outside.
- Thread Your Needle: Use a thread that matches your garment and tie a secure knot at the end.
- Pin it in Place: Align the two edges of the split seam and use a few safety pins or straight pins to hold them together neatly.
- Begin Stitching: Start your stitch about 1cm before the split begins, within the existing seam line. Push the needle up from the underside of the fabric and pull the thread all the way through until the knot stops it.
- The Backstitch Motion:
- Take a small stitch backwards (about 2-3mm), pushing the needle back down through the fabric.
- Move the needle forward underneath the fabric (about 4-6mm, or twice the length of your first stitch).
- Bring the needle up through the fabric.
- Repeat: Go back to the end of the previous stitch, push the needle down, and bring it up again a stitch-length forward.
- Finish and Secure: Continue this motion along the entire length of the split, ending about 1cm past the hole. To finish, create a small loop with your thread close to the fabric, pass your needle through it twice, and pull tight to create a strong knot. Snip the excess thread.
This sturdy stitch is perfect for everything from work trousers to a beautiful, flowing dress with tiered panels, like a stunning Floral Tiered Long Dress, where a seam might occasionally pull apart.
Fixing a Fallen Hem: No-Sew and Sewing Methods
A dropped hem can happen at the most inconvenient times. Here are two ways to fix it, one for when you’re in a rush and one for a permanent, professional finish.
- The Quick Fix (No-Sew): Fusible hem tape is a modern mending miracle. It’s a roll of web-like adhesive that melts when ironed, bonding fabric together.
- Turn the garment inside out and fold the hem up to its original, correct length. Press it with an iron to create a crisp crease.
- Cut a piece of hem tape the length of the fallen section and place it inside the fold of the hem.
- Place a pressing cloth (a spare piece of cotton fabric) over the area to protect your garment and press firmly with a warm iron (check your garment's care label for heat settings). The heat will melt the tape, fusing the hem in place.
- The Invisible Stitch (Blind Hem): This sewing technique creates a nearly invisible finish from the outside.
- Turn the garment inside out and fold the hem up, pressing it as above.
- With a knotted, matching thread, pick up just one or two threads from the main fabric of the garment, right above the folded edge.
- Now, take a slightly larger stitch (about 1cm) through the folded edge of the hem itself.
- Repeat this pattern: a tiny, almost invisible stitch in the garment fabric, followed by a larger stitch in the hem's folded edge. The thread will form a zig-zag pattern on the inside but will be virtually unseen from the outside.
Frequently Asked Questions (FAQ) about Clothing Repair in Sri Lanka
We get it—diving into the world of mending can bring up a few questions. Here are answers to some of the most common queries we hear from our community.
I'm a total beginner with sewing. What's the one skill I should learn first?
Start with the absolute simplest and most useful repair: sewing on a button. It requires just a needle, thread, and a few minutes. Once you've mastered that, the backstitch for repairing seams (as detailed above) is your next best step. These two skills alone will allow you to handle a huge range of common clothing problems and build your confidence for more advanced sewing tips for beginners.
Where can I find good quality thread in Sri Lanka that withstands the humidity?
This is a great question specific to our climate. High humidity can cause natural fibres like pure cotton thread to weaken or even mildew over time. For durable repairs, look for 100% polyester thread or a cotton-wrapped polyester blend. These synthetic or blended threads are much more resistant to moisture and maintain their strength, ensuring your hard work lasts. You can find them at quality haberdashery shops in Pettah, Kandy, or online from local craft suppliers.
Can I really fix delicate fabrics like silk or chiffon at home?
Yes, but it requires extra care and the right tools. For very fine or delicate fabrics, you must use a very sharp, very fine needle, often called a "Microtex" or "Sharps" needle (size 60/8 or 70/10). A dull or thick needle will pull and pucker the fabric, causing more damage. If possible, use 100% silk thread, as it's fine and strong and won't leave impressions on the fabric. Always test your stitch on a hidden area first, like an inside seam allowance.
My white clothes get a yellowish tinge in storage. How can I prevent this?
This is a common issue in tropical climates and is caused by oxidation, which is accelerated by humidity. To prevent it, ensure your clothes are 100% clean and dry before storing them. Even residual body oils can yellow over time. Store them in a cool, dry, dark place—not in plastic bags, which trap moisture. Use breathable cotton storage bags and consider adding silica gel packets (the kind you find in new shoe boxes) to your wardrobe to absorb excess moisture.
Is it actually worth it to repair a "fast fashion" item?
Absolutely! The value of a repair isn't determined by the initial cost of the garment, but by how much you love and wear it. If a 15-minute fix on an affordable top means you'll get another year of wear out of it, that's a huge win. It keeps one more item out of a landfill and saves you from buying a replacement. Embracing sustainable fashion in Sri Lanka is about changing our mindset to value what we own, regardless of its price tag. Every stitch is a small act of rebellion against a throwaway culture.